Raised beds are not only a great way to grow your own food, they can be an attractive focal point for any garden. Using some simple principles they can be adapted to any space.
Just to recap here are some advantages of traditional raised beds:
- Save your back, no crouching down, sit on your bench edge and garden away!
- Soil stays light and friable, it won’t be compacted by stepping on it nor will you compete with weeds on the ground or existing tree roots. Weeds are easy to pull out.
- Water is contained to your garden. It is always well drained, especially in wet periods.
- Some pests such as slugs and snails are discouraged, and others are easier to spot as they are at eye level.
Now some advantages of Easy Architectural Raised Beds:
- Light weight quick construction;
- Can be adapted to slopes and irregular spaces;
- Low cost- timber costs around $8 linear meter;
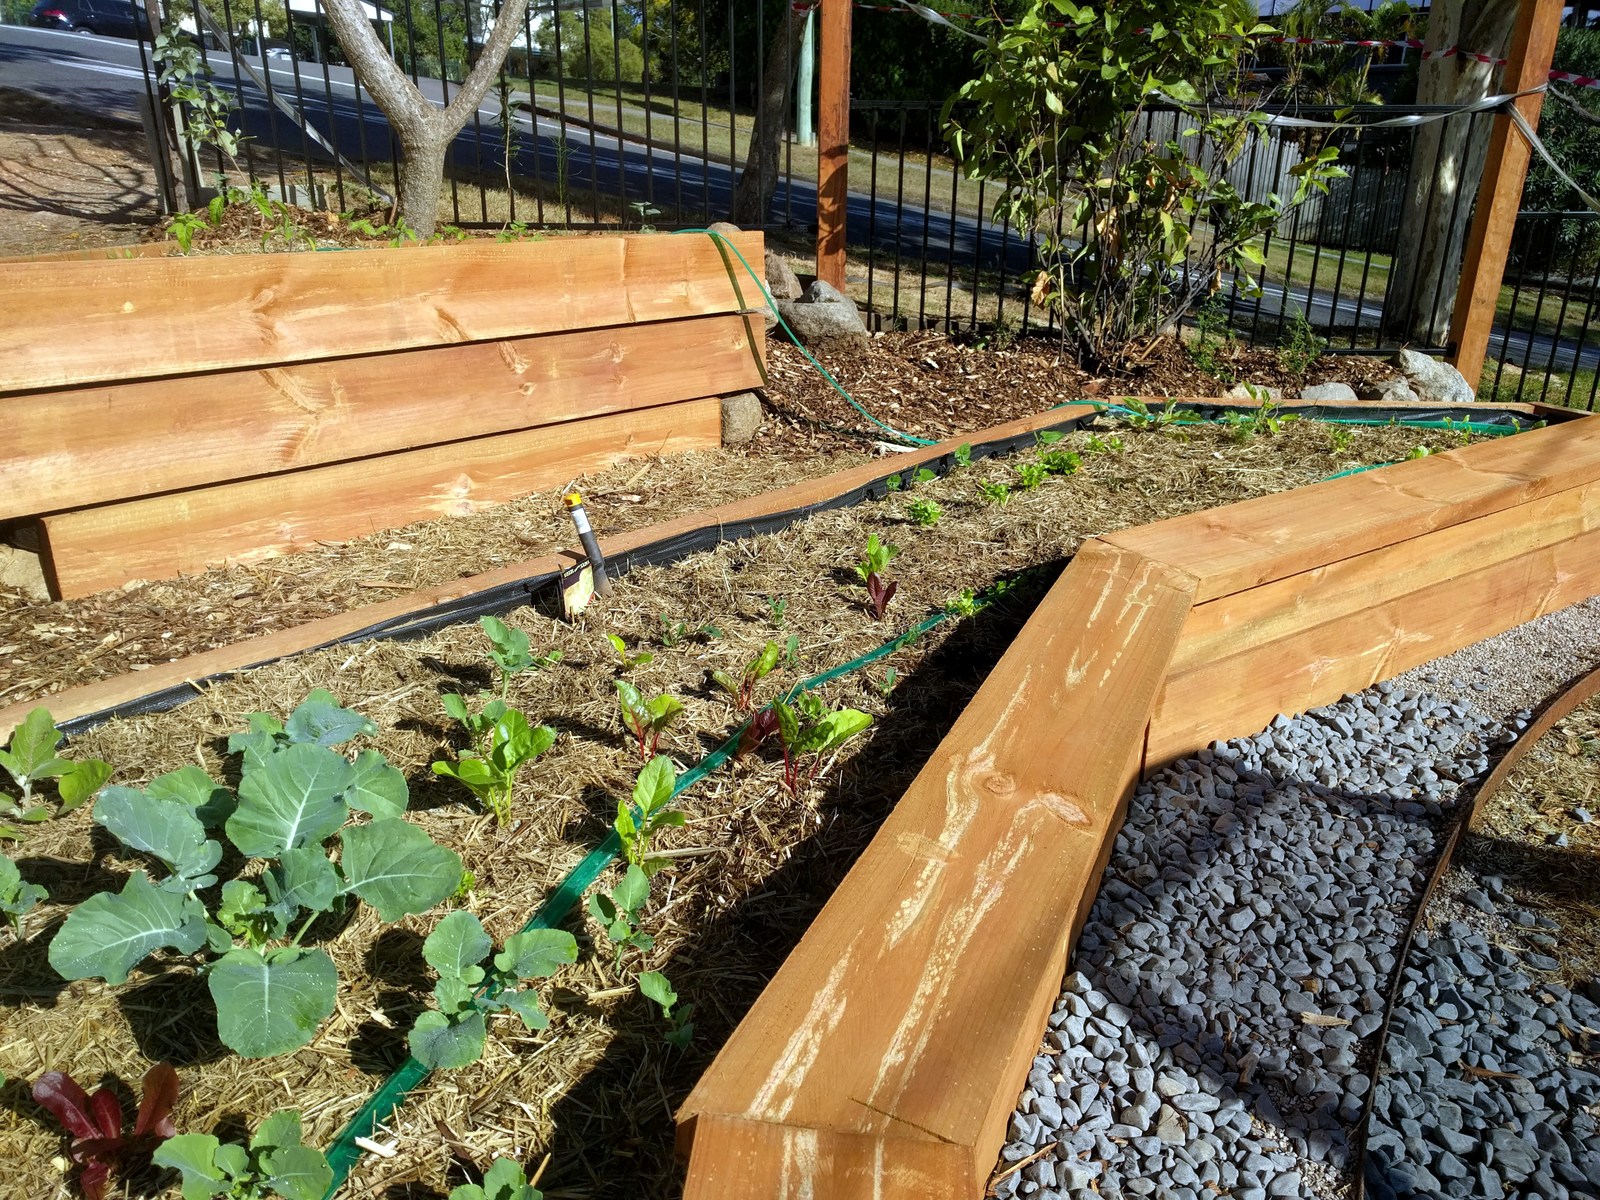
- Seat edge- so comfortable, garden sitting down or just enjoy time communing with your plants!
So to get started:
Space and light requirements– you will need at least a couple of square meters for your beds. A northern aspect is best, but anywhere with some direct sunlight will do. The beds will be raised by at least 400mm so even the shady side of your house might get more light once the bed is raised.
Bed width- can be as little as 400mm, the longer the better especially if there is a east-west orientation. Beds wider than 1m are ok, but make sure they are not so wide you can’t comfortably reach all areas.
Height– two planks high with a seat edge should get you a height around 450-500mm, a great seat height. If you are struggling to get light or want to add a lot of soil, you can go higher but just remember it won’t be as comfortable to sit on.
Construction details are contained in the gallery below, but materials used are:
- some old garden stakes and string for laying out,
- Micro Pro timber 50mm x 200mm. This timber is treated chemically, however it is certified safe for use in schools and playgrounds. Available from a very large hardware chain.
- Weedmat liner- helps to insulate the soil from the timber to reduce exposure, assist drainage and help preserve the timber.
- Star pickets, treated pine corrosion resistant screws, 75mm length are good. Hex drive are great.
Method is listed in the gallery below. Happy construction, and you’re not keen on the work and would like a professional installation, please contact Lowndes Landscapes today!
-
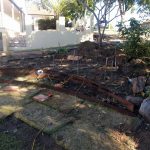
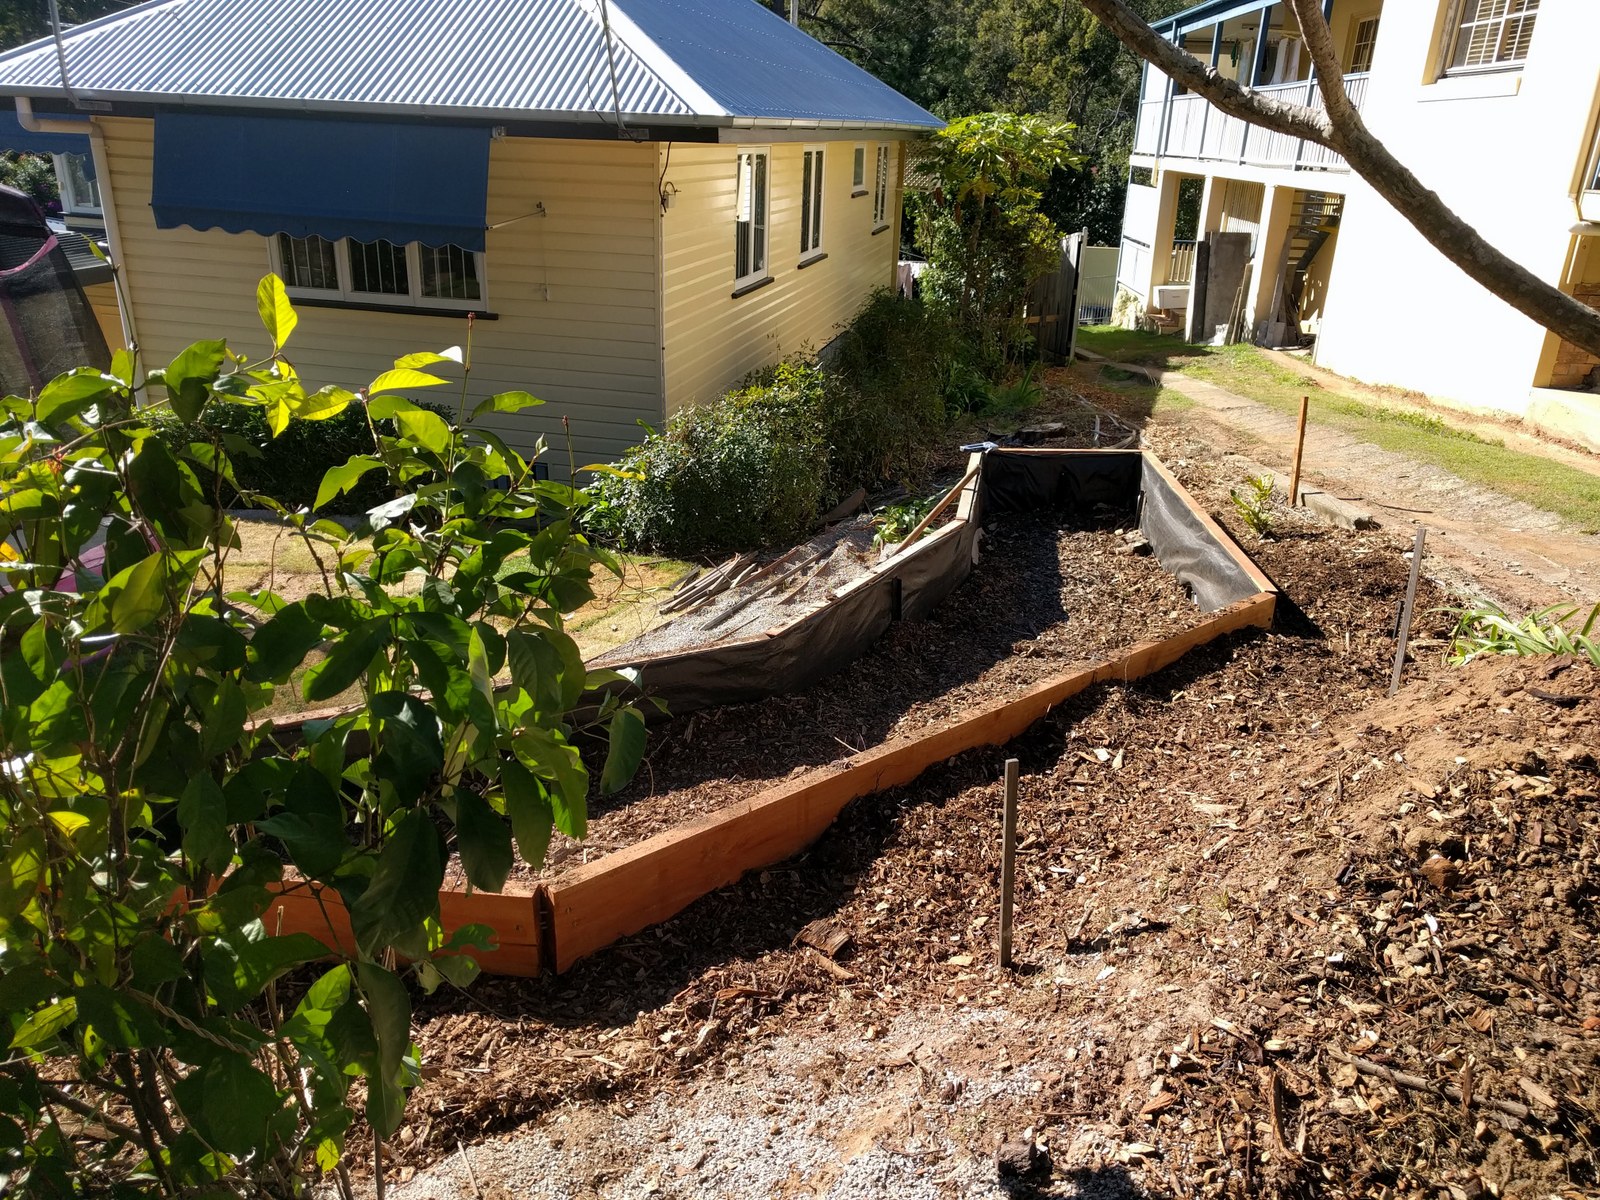
- Site- chose any underutilized part of your garden with good light access.

-
- Layout with strings and stakes.

-
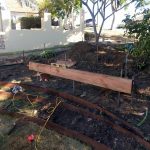
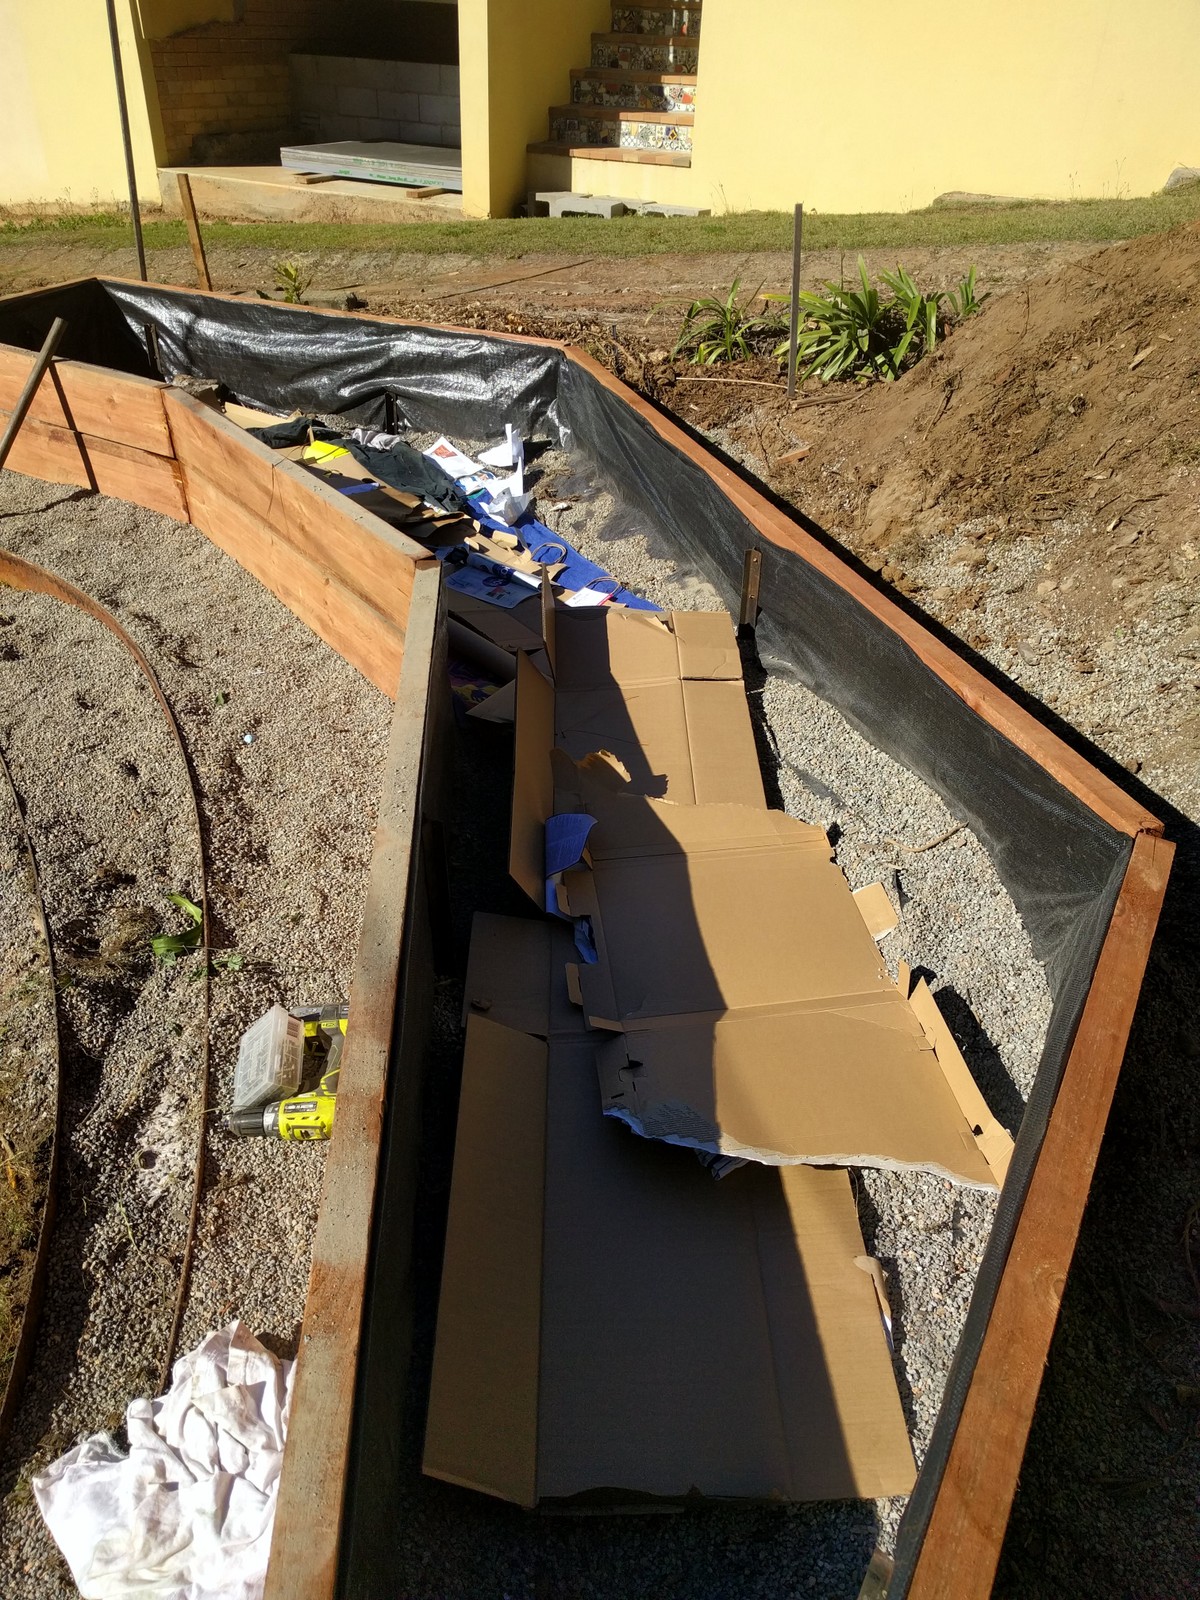
- This is a’contour hugging’ design. A gravel layer can help with drainage.

-
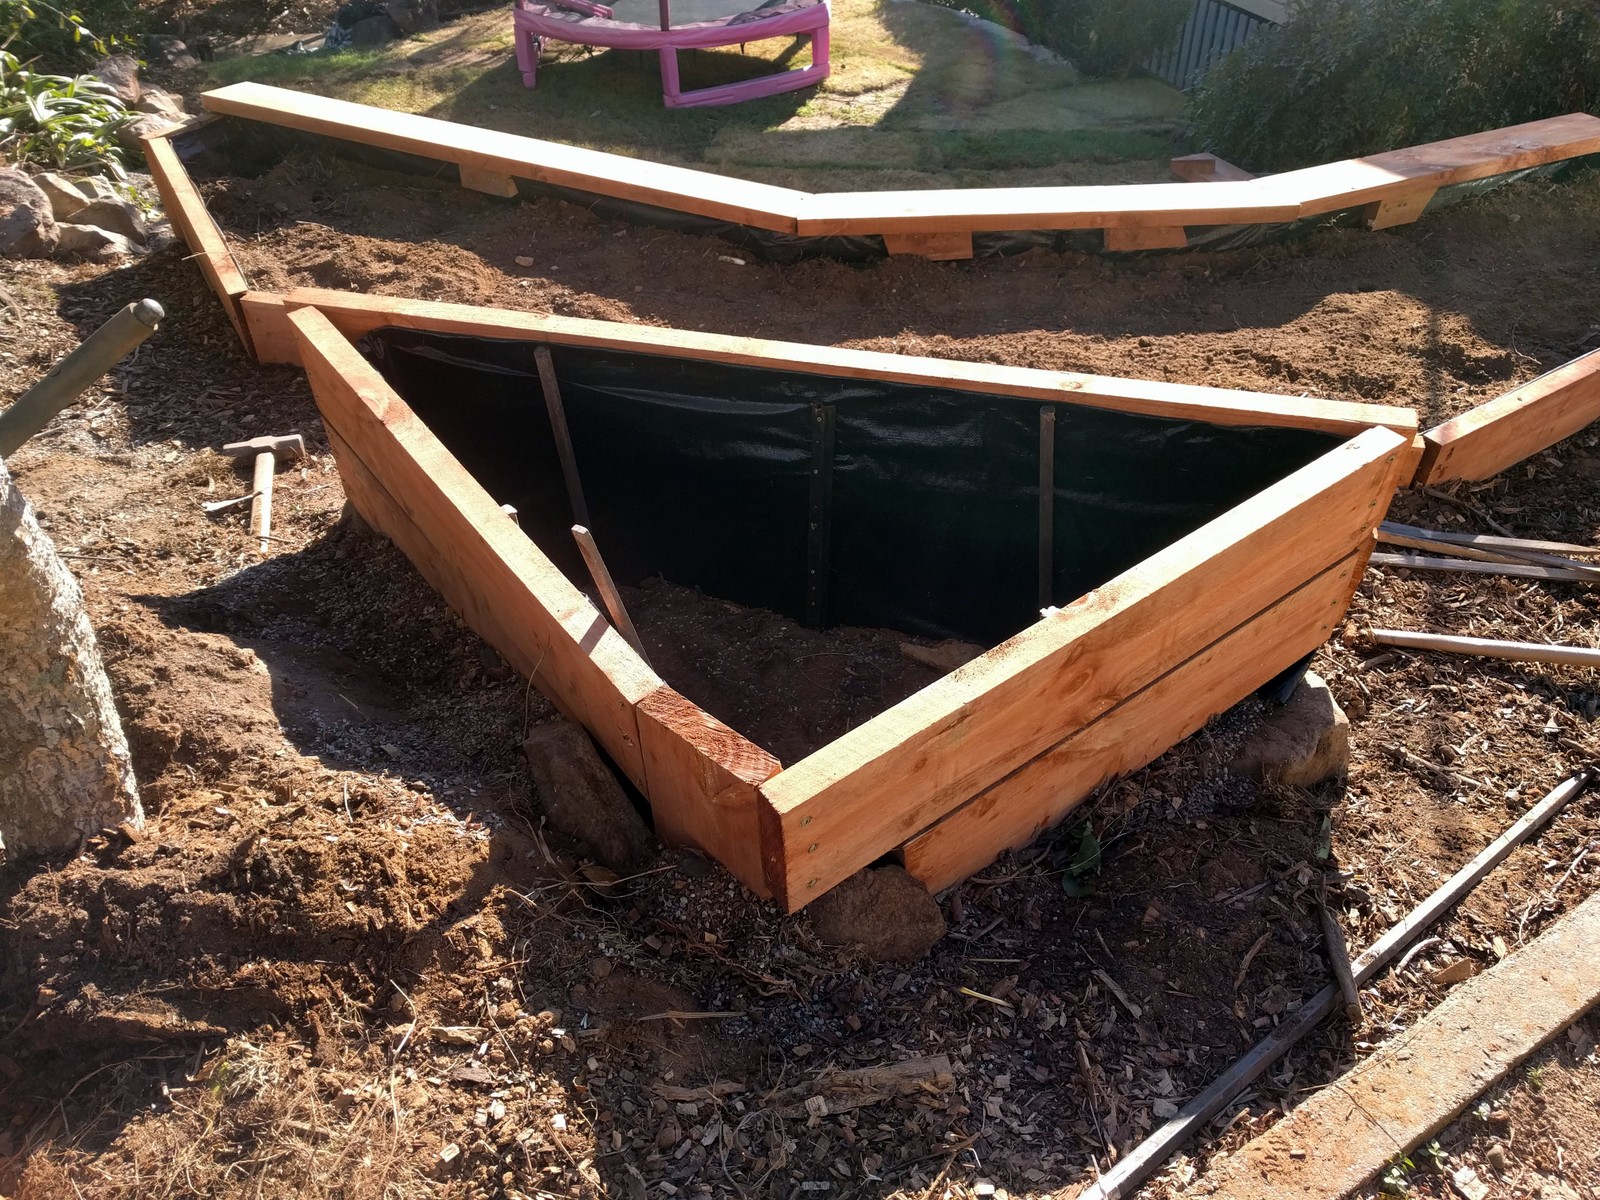
- Boxing all around completed. Leave a space around 5-10 mm between plank layers to assist in drainage and air to roots. Support the structure using star pickets.

-

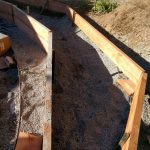
- Filling and lining- get rid of old news papers and cardboard, they will make a moisture holding layer and stop soil escaping through your drainage layer. Line with weed matting to hold in soil, protect timber and as an extra barrier between veges and treated pine.
-
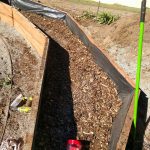
- Add a layer of wood chips for some filler and another moisture holding layer. Water crystals also added for extra moisture retention.

-
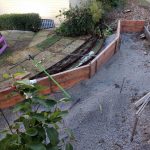
- Beds starting to form. Note height difference between front and back of bed as bed is on a slope.
-
- Soil filling. try a landscape soil with the highest mineral content.

-
- First eves planted!
-
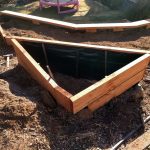
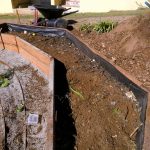
- A deeper bed showing construction method.
-
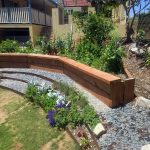
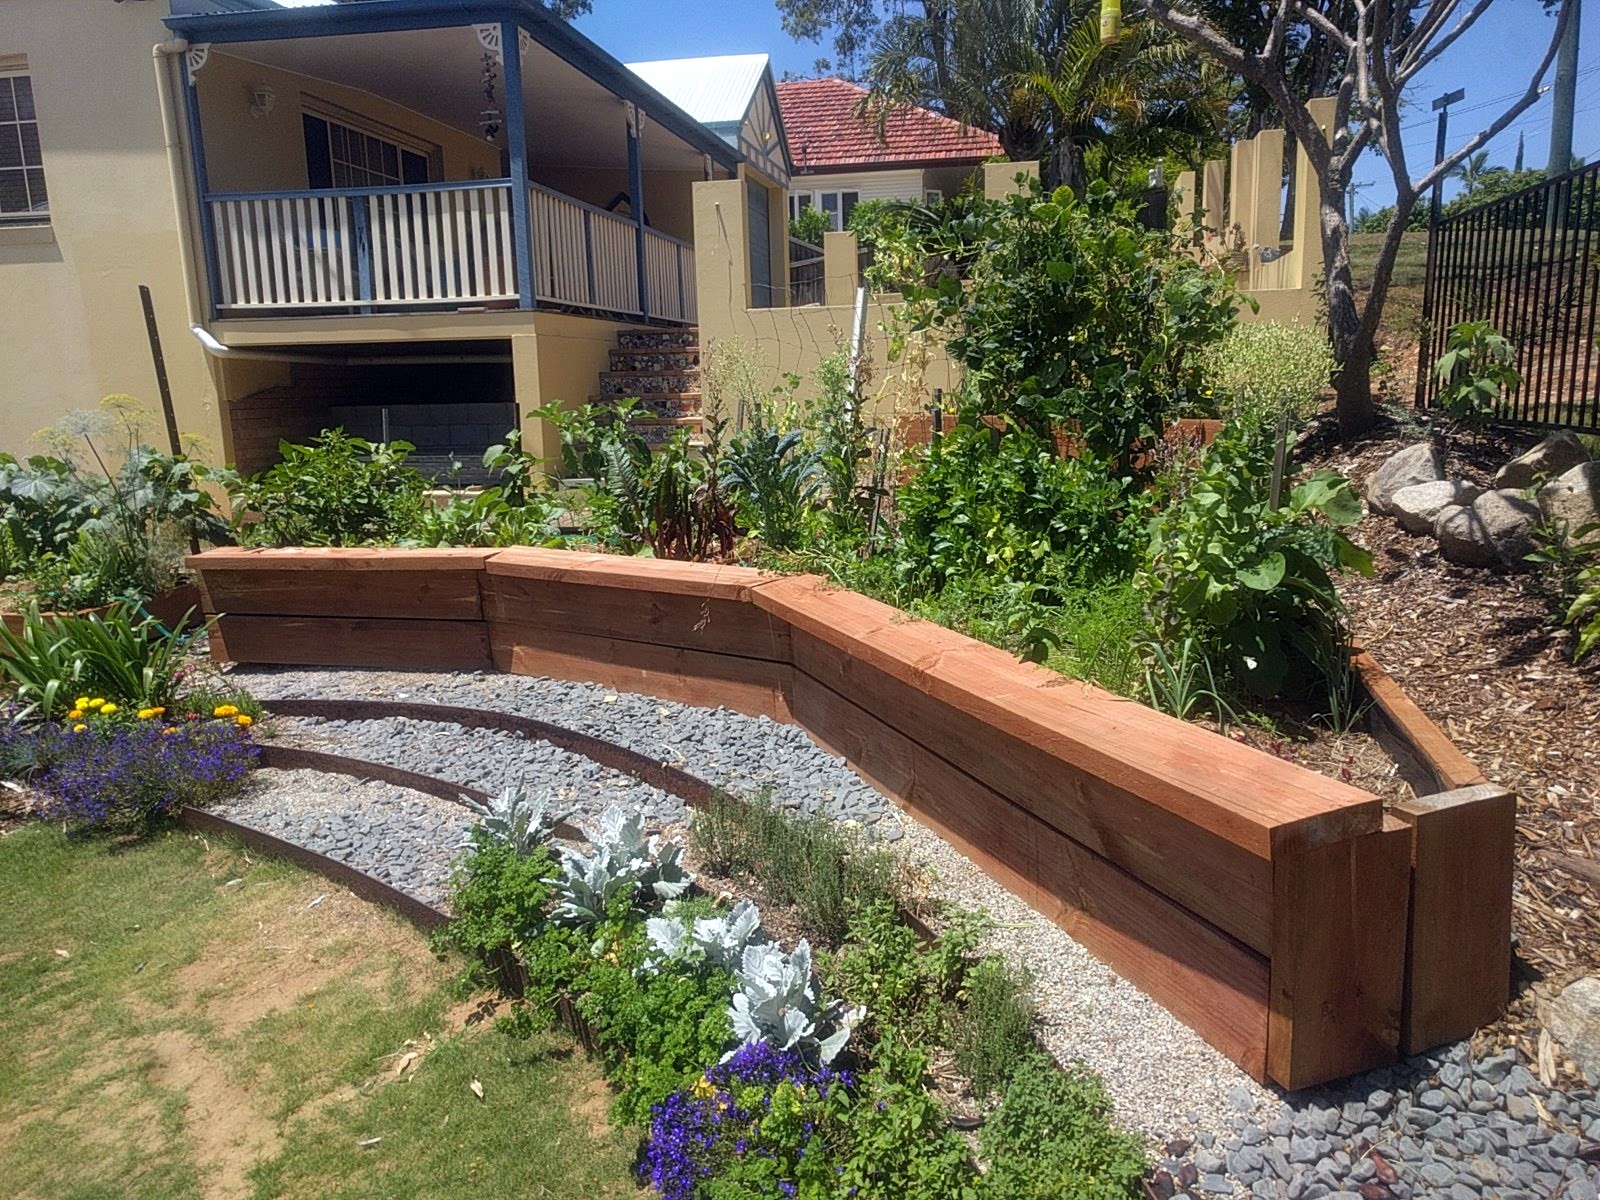
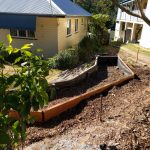
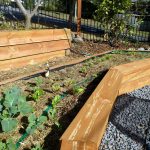
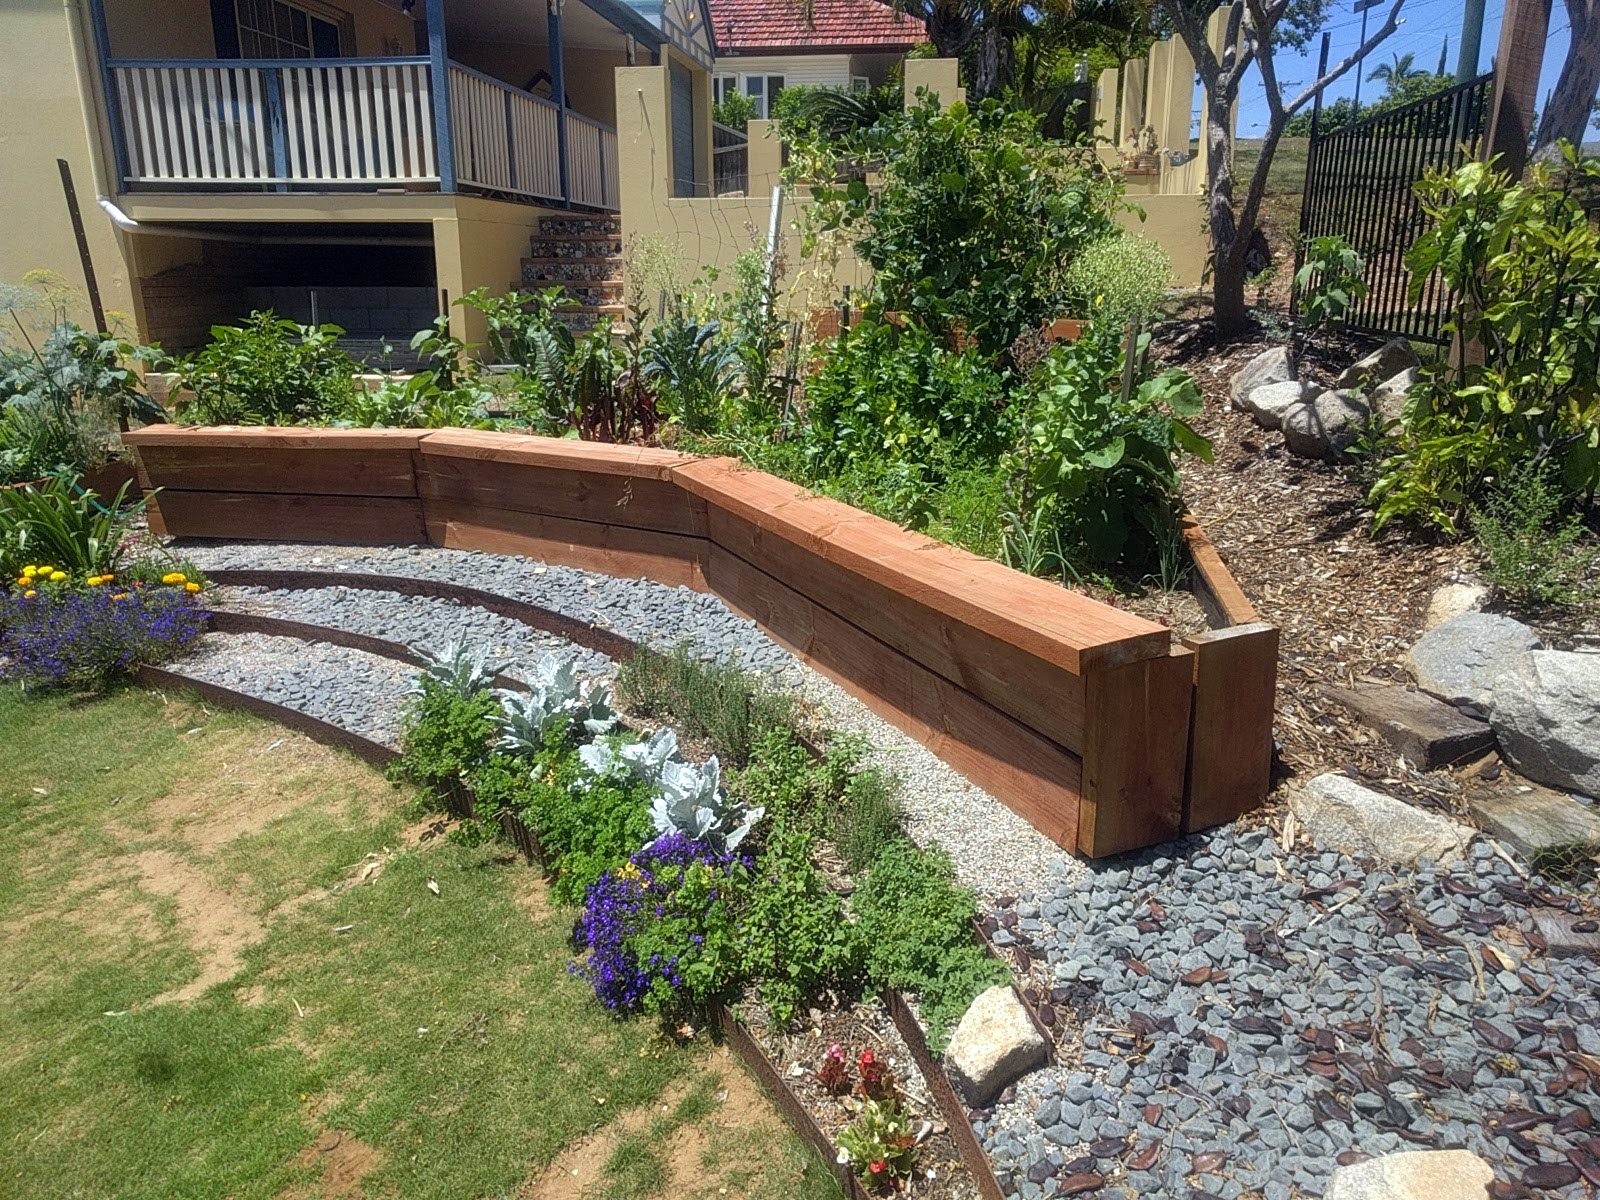
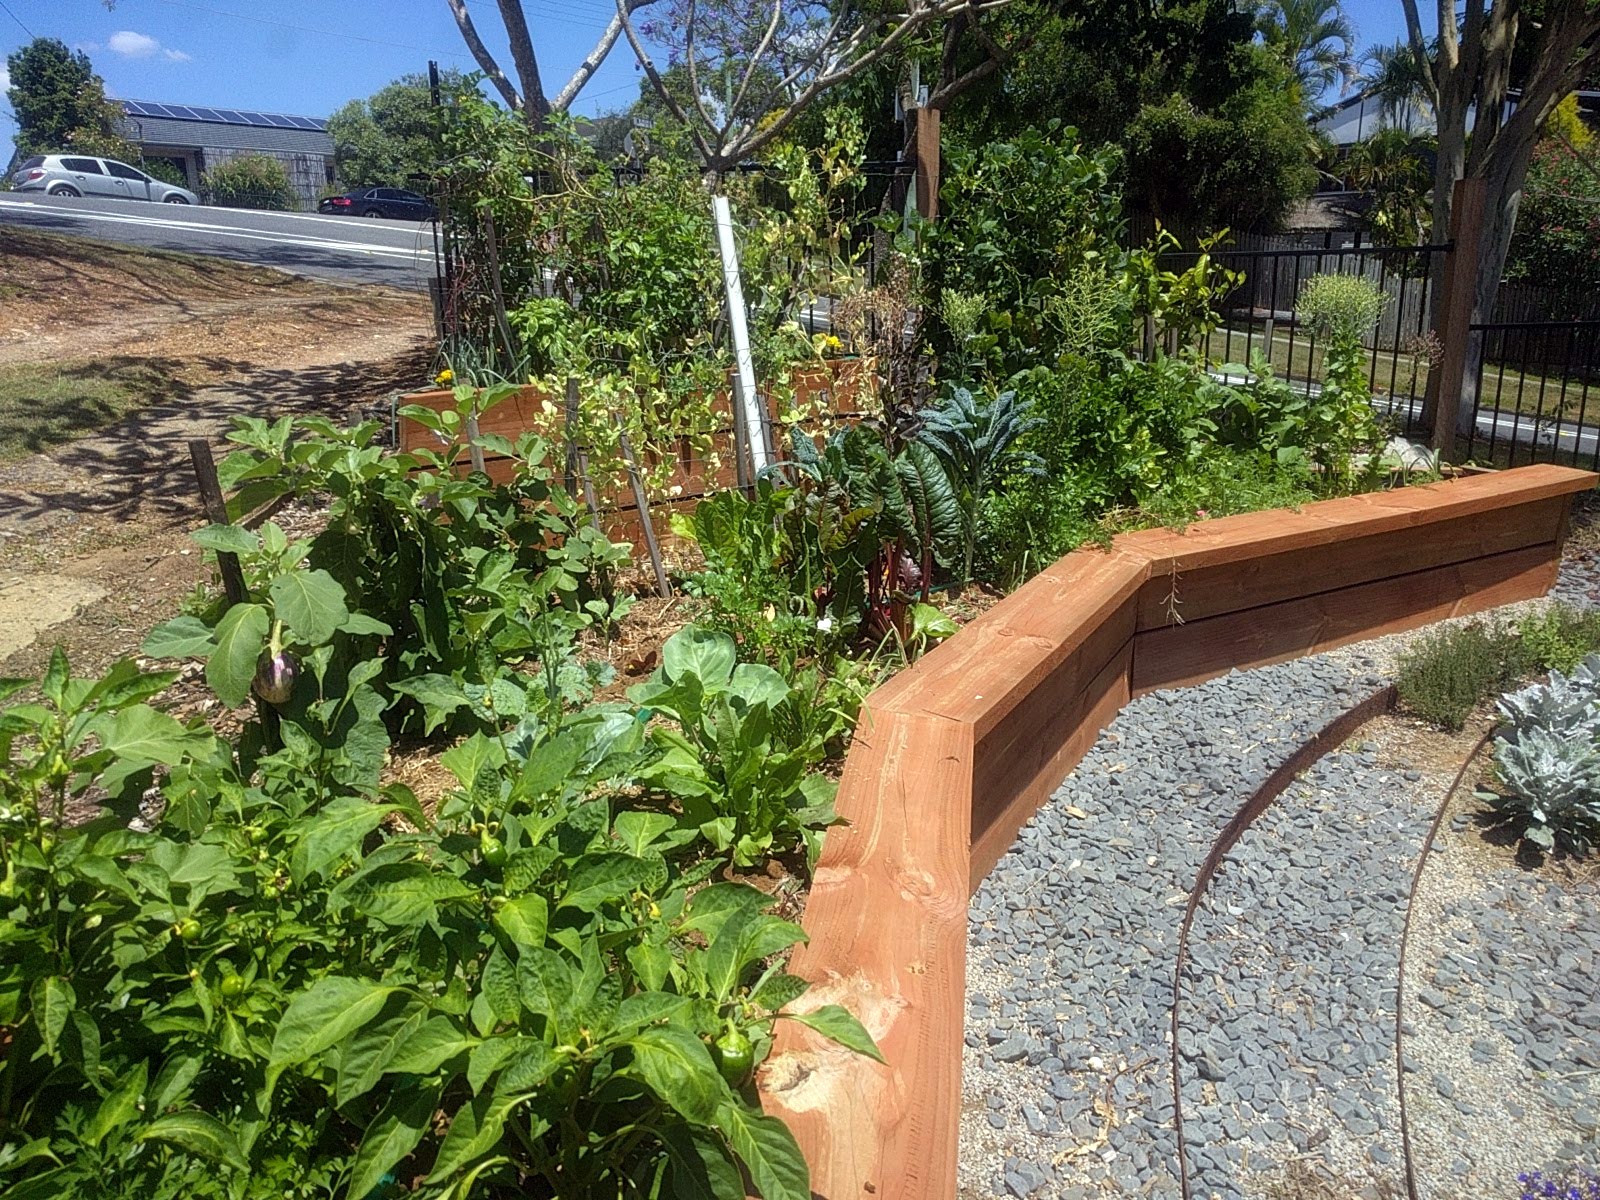
- The beds three months later.
-
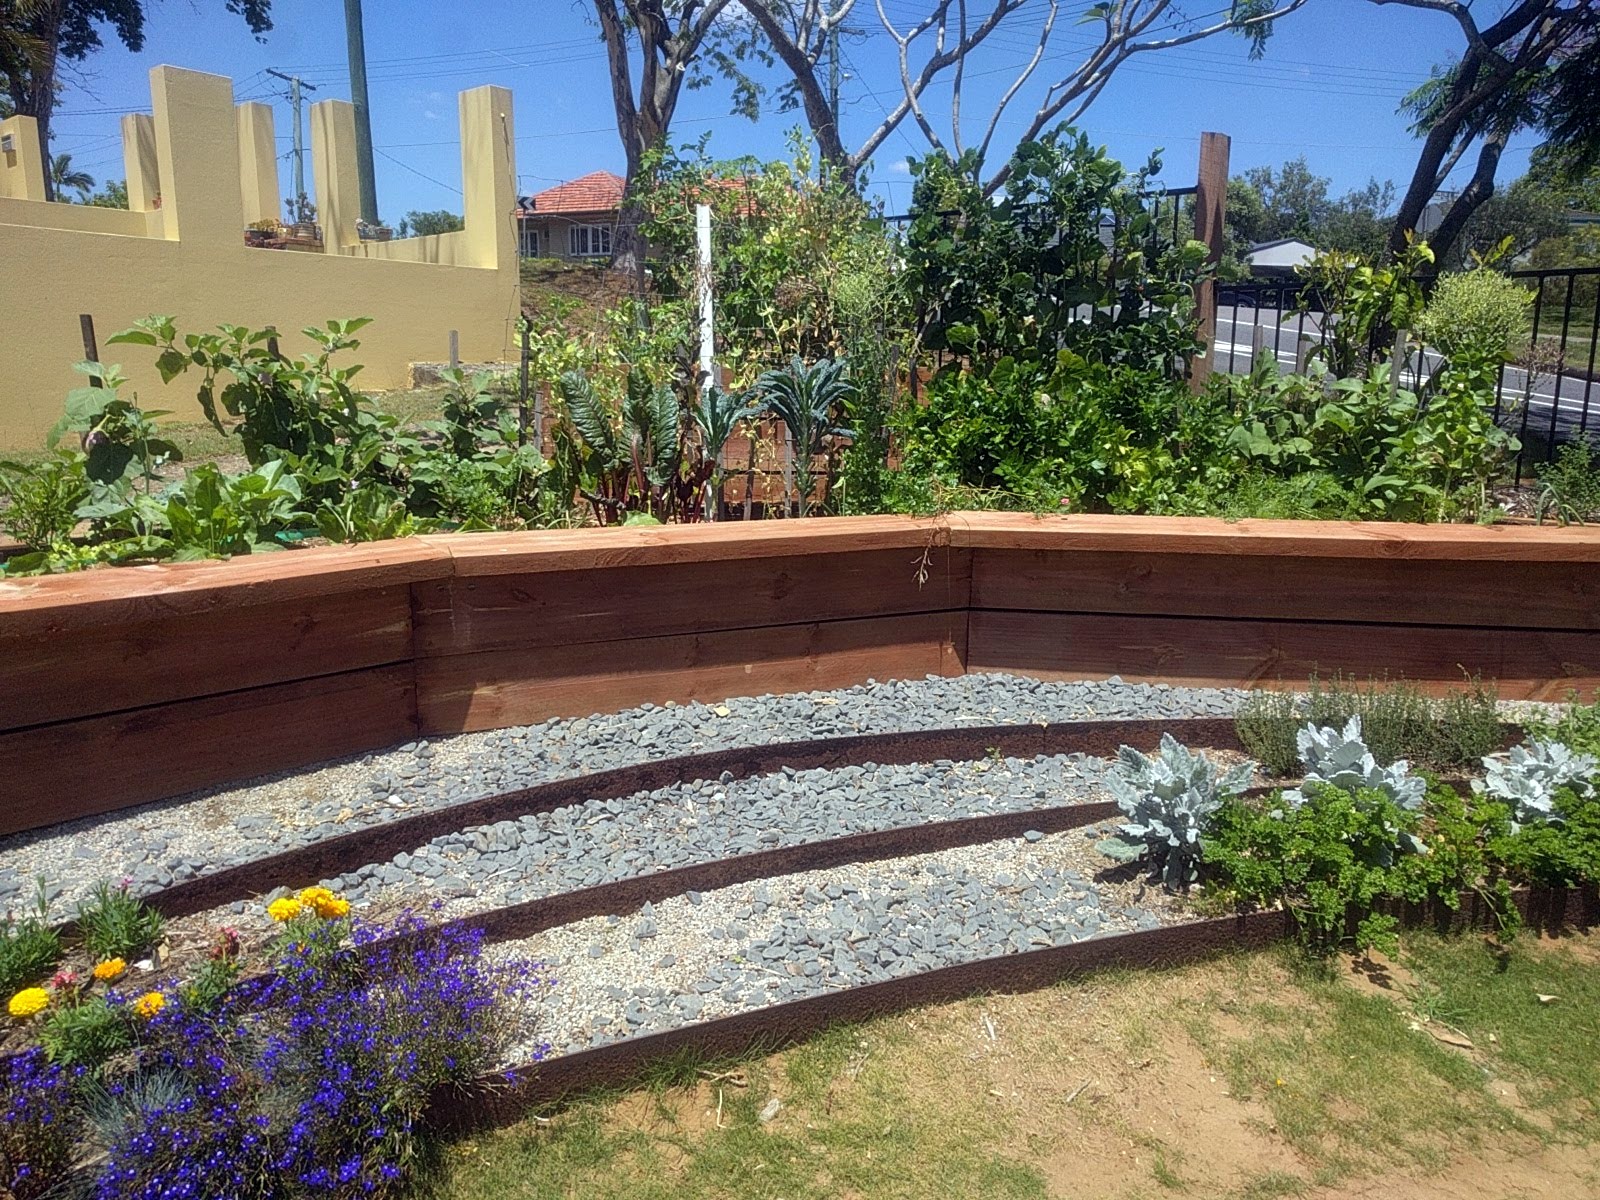
- Seating wall. Great for a glass of wine!
-
- Herbs growing in the corten terraces below.
Comments are closed.